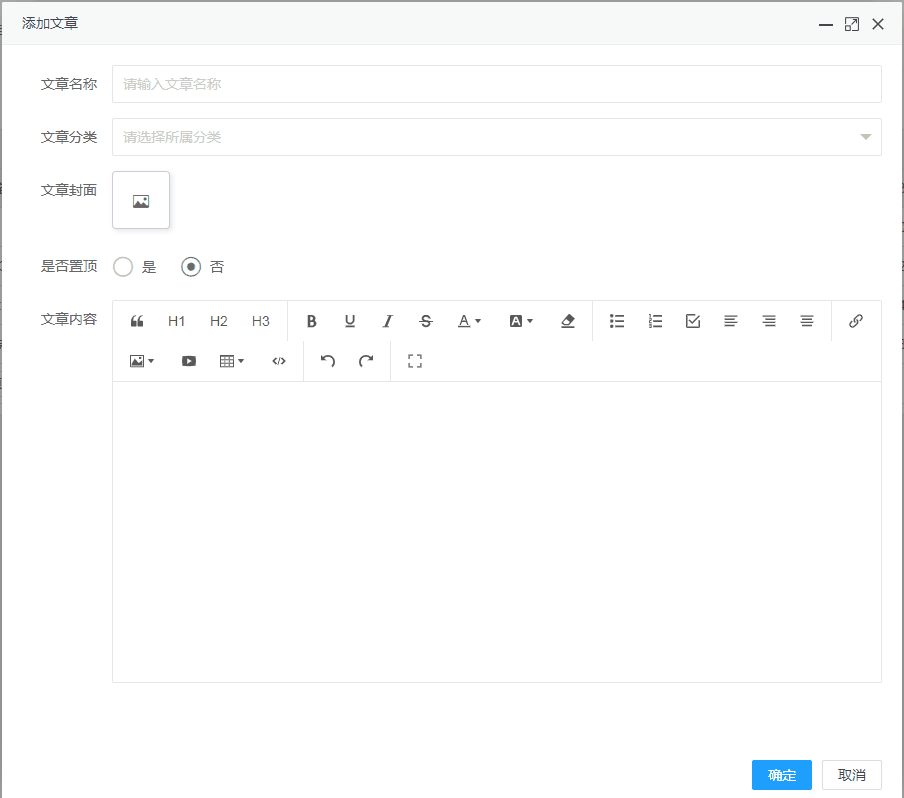
最近wangEditor更新了v5版本,作为wangEditor的使用者,肯定迫不及待的更新体验了。v5版本和v4版本更新较大,本人也是根据官网文档一步一步踩坑,到了图片上传这块,是想要实现用自己的图床选择图片后来插入的,然后看了官方文档,官方文档也只是模糊带过。v5版本也刚更新不久,网上找不到相关例子。只好自己想办法实现了。
/*父窗口代码*/
var tempImgs = '';
var E = window.wangEditor;
var editorConfig = { MENU_CONF: {} };
editorConfig.MENU_CONF['uploadImage'] = {
    customBrowseAndUpload(insertFn) {
        /*通过layui的弹窗模块打开自己的图床*/
        var index = layer.open({
            title: '选择图片',
            type: 2,
            shade: 0.2,
            maxmin:true,
            shadeClose: true,
            area: ['810px', '600px'],
            content: 'popover.html',
            end: function () {
                //循环插入子窗口赋值过来的图片数组,然后清空tempImgs
                tempImgs.forEach(function(item){
                    insertFn(item);
                })
                tempImgs = '';
            }
        });
        /*为了让子窗口可以接受到值,windowName是子窗口索引,这里也可以加上maxLenght字段,限制图片数量*/
        window.$f = {windowName:index};
    }
}

var editor = E.createEditor({
    selector: '#editor-container',
    mode: 'simple',
    config: editorConfig
});

var toolbar = E.createToolbar({
    editor,
    selector: '#toolbar-container',
    mode: 'simple'
});
/*子窗口代码*/
useImage: function() {
if (!this.selectedImages.length) return;
if (typeof parent.$f != 'undefined') {
if (typeof parent.$f.maxLenght != 'undefined' && this.selectedImages.length > parent.$f.maxLenght) {
return layer.msg('最多只能选择'+parent.$f.maxLenght+'张图片');
}
//将选中的图片赋值到父窗口的tempImgs。
parent.tempImgs = this.selectedImages;
//关闭父窗口中的子窗口
parent.layer.close(parent.$f.windowName);
}
}最终效果